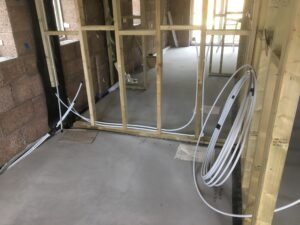
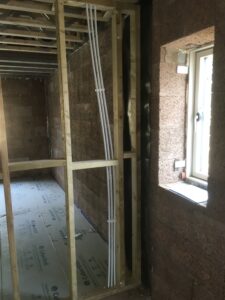
Our plumbing team (Harry and Harry) of H J Denison have been making good progress on the first fix. In addition to the working toilet in the basement, we now have pipes running up both sides of the building. The bathrooms, the kitchen and the utility room are all positioned around the centre line of the house so the pipes are generally vertical with minimal horizontal connections running off at each level.
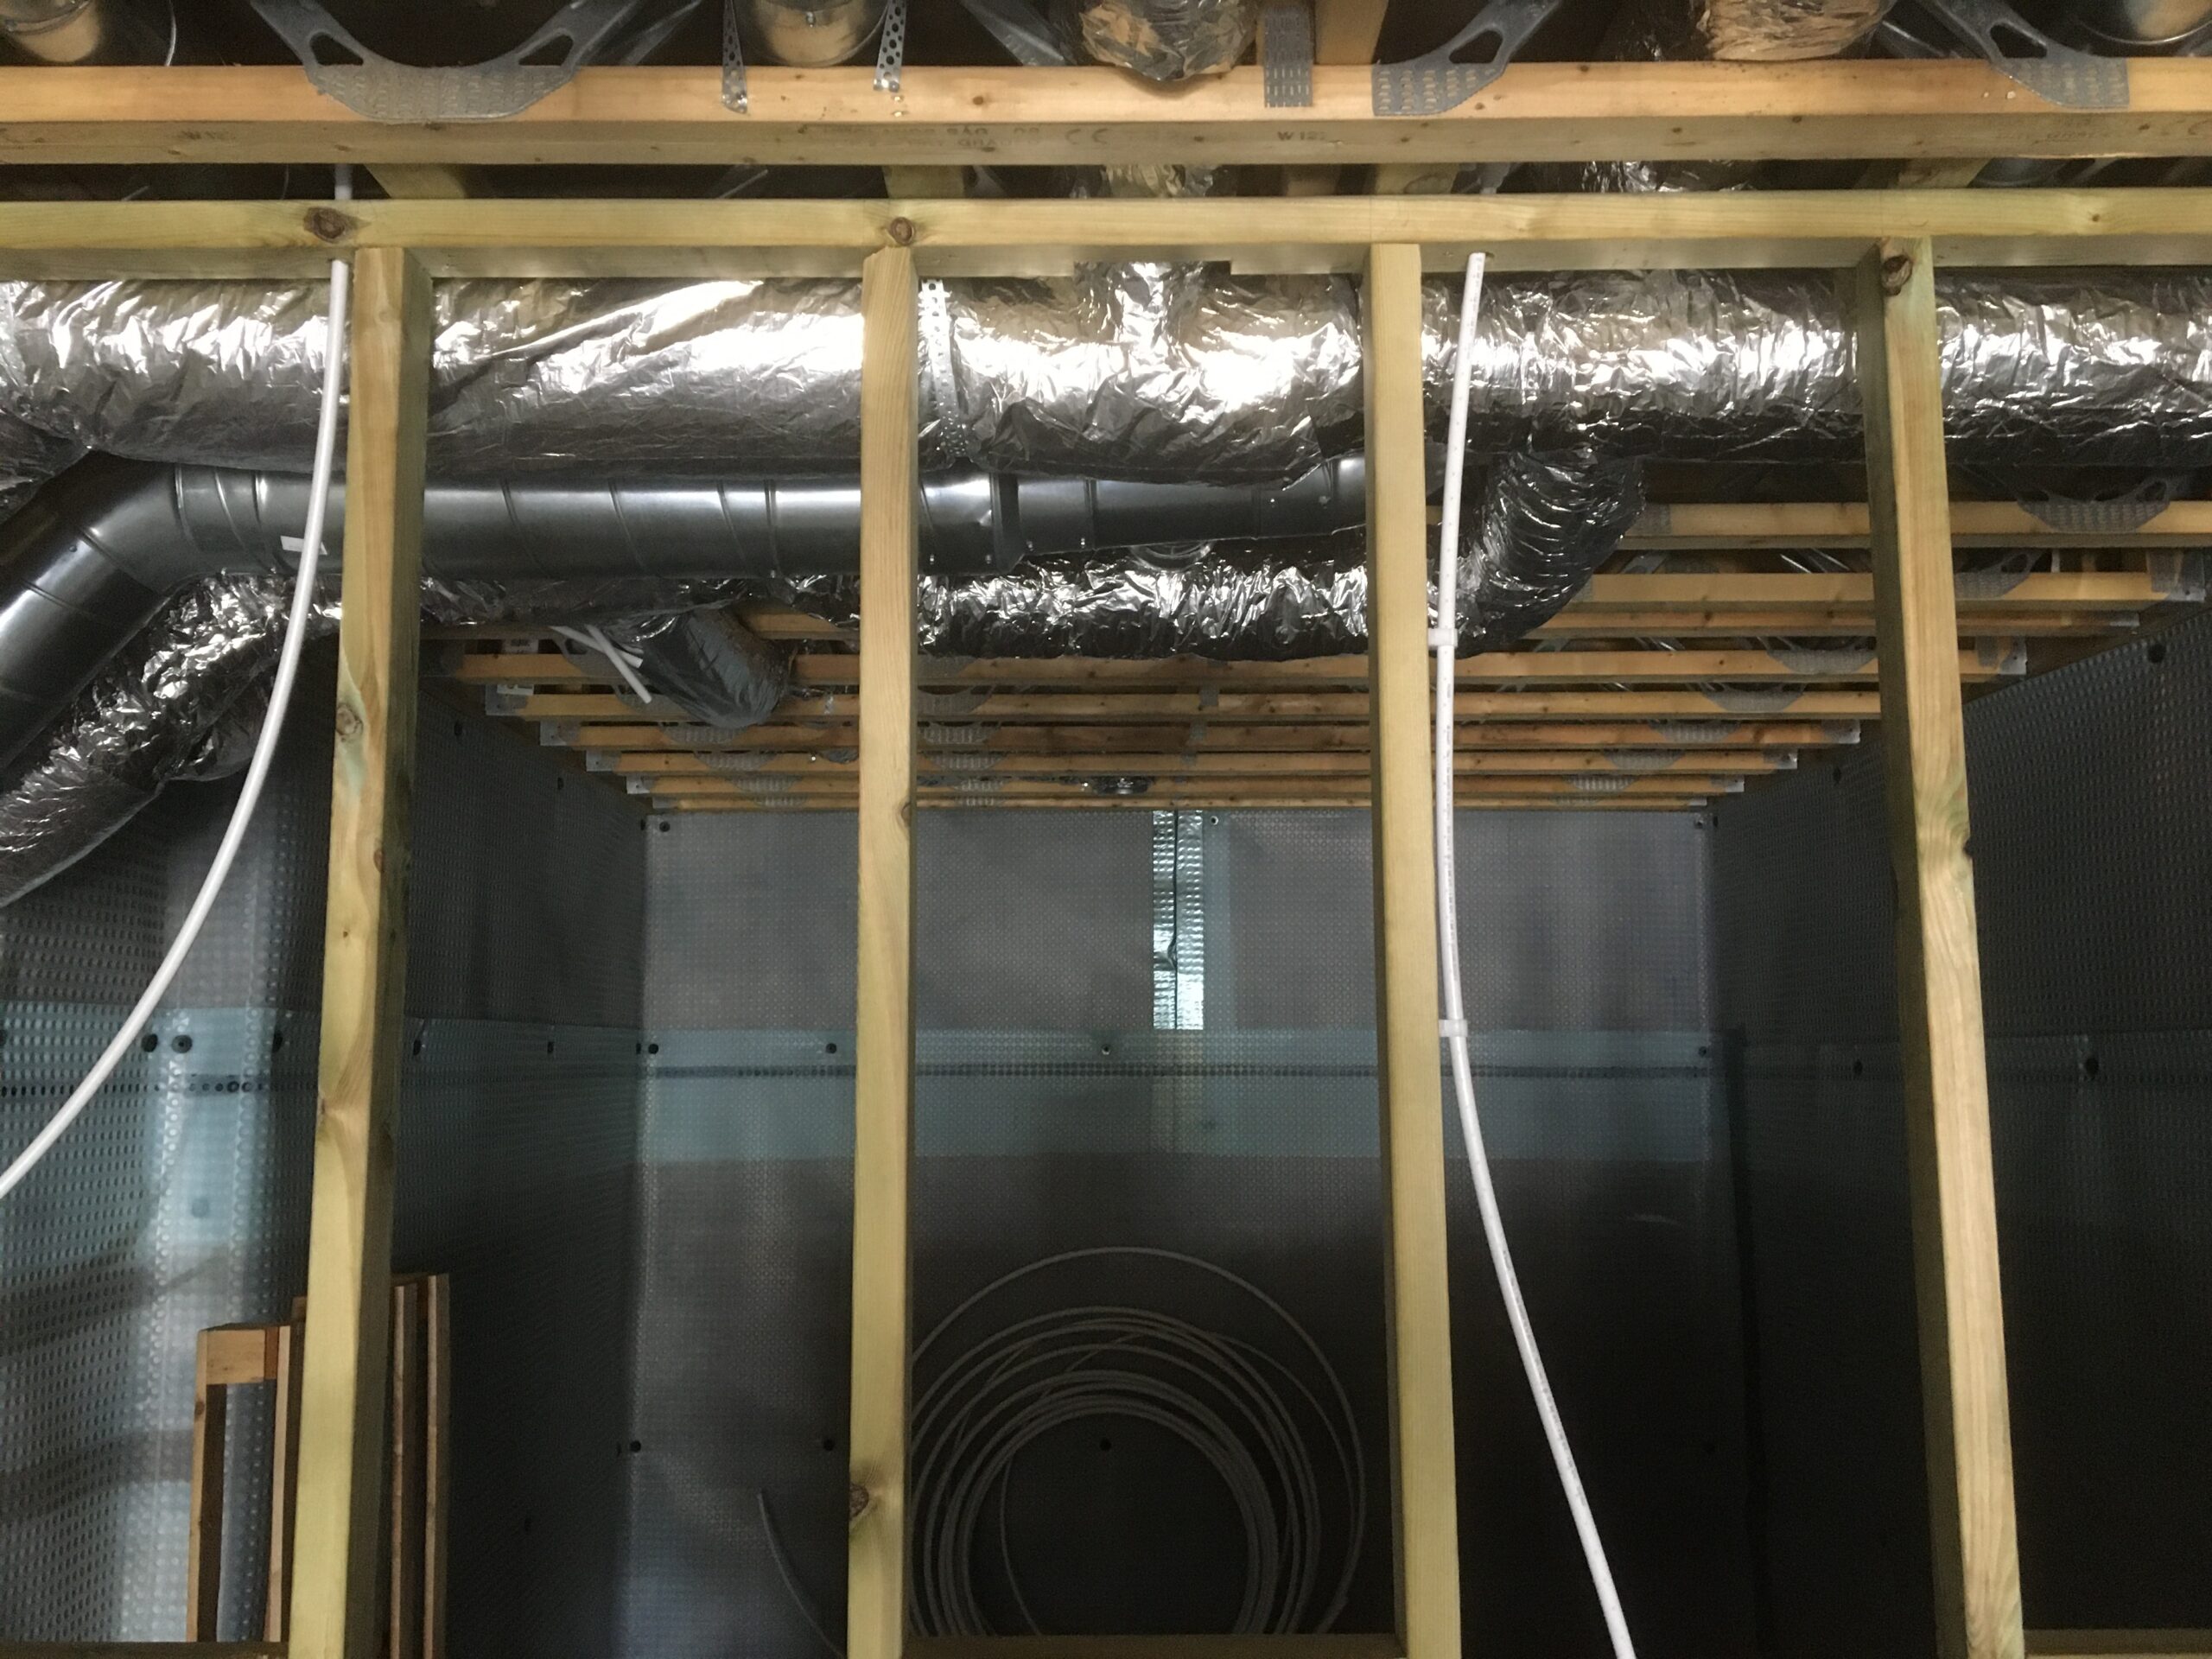
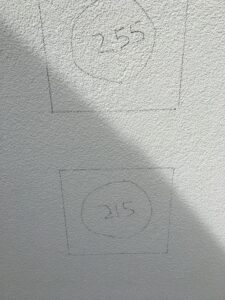
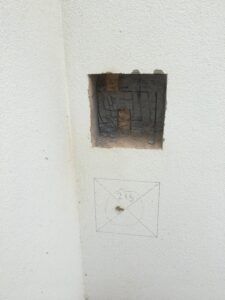
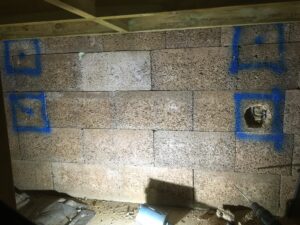
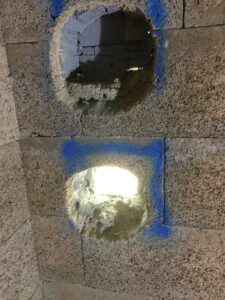
I spent the best part of 2 days this week cutting out the holes for the MVHR intake and extract vents. Several months ago, I asked what we should do about these as I did not want to pour the concrete in the walls and then have to break it out again! I was given the dimensions of the vents by Total Home Environment so, instead of pouring concrete in these areas, we installed extra insulation to make it easier to cut out later. However, when the vents arrived, I discovered that they were 250mm x 250mm which coincidentally is the same height of an Isotex block. It would therefore have been very simple to cast the vents into the walls from the outset. Whilst we had positioned the vents almost in the right places, they were slightly off so, instead of just woodcrete and insulation, I also had to cut through concrete. On Day 1, I burnt out my 18V drill as it was just too tough for it; this provided the perfect excuse for buying a 240v SDS drill, which provided a lot more muscle to get through the blocks. However, even then, the drill bits struggled with the concrete. The next enhancement was a chisel set which made short work of the remaining concrete and the holes were quickly completed ready for Garry to complete the first fix next week.
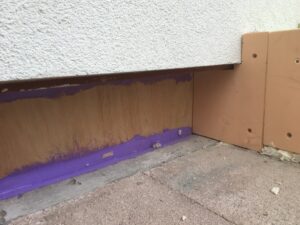
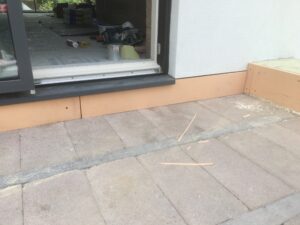
Meanwhile, we have been getting to grips with the build-up of the front and rear balconies. This is something which appears to have challenged everyone involved with the project, including the architect who dodged it completely. Having taken advice from far and wide, we think we have come up with a practical solution, which maintains the thermal efficiency of the balcony fabric. The issue is that we only have about 160mm between the top of the beam and block roof and the bottom of the windows. The large front window has drain holes which are only 145mm above the beam and block making it even tighter. Originally, the design was to have some 160mm of insulation with a single membrane waterproof covering. However, Building Regulations requires a 75mm upstand below any drain holes which would leave insufficient space to provide insulation and a fall to the drains. However, there is a dispensation if the roof is “maintainable”. In our case, we have easy access to all parts of the roof so it is definitely maintainable and we can therefore reduce the upstand slightly. Our design now comprises a 30mm to zero fall across the balcony for drainage with 60mm of Recticel’s Deck VQ composite insulation above it. We will be forming the falls using 3-50mm screed from our trusty local Screwfix. Deck VQ is an amazing product with a “lamda” value of only 0.008 (cf normal PIR board at 0.22) which delivers a u-value of 0.13 W/mK at 60mm thick. This is as good as we can achieve within the constraints albeit that it does not quite achieve our target 0.1 u-value. The build-up will be completed using Polyroof’s Protec single membrane covering, the same one that we used on the roof gulley. This will allow us to finish the balconies off with tiles supported by pedestals as the top surface.